Sunday, June 29, 2014

Way to Go Graduation Card

I had to make 2 graduation cards this weekend so I went to my handy dandy sketch challenges and found a sketch that I thought would translate well to what I wanted to do.

One sketch challenge I liked was Freshly Made Sketches #142.  A nice simple sketch with lots of opportunities!


I mentioned in a prior post that one of the first stamps sets I wanted to order in the new Stampin Up catalog was Bravo.  I thought this stamp set really contained a great versatile set of greetings.  And what I truly love about this set now that I own it is that it is a photopolymer set!  This really worked out for the best for the graduation card I ended up making!


For this card I thought it would be great to use various greetings in a collage type layout.  I used a bigger acrylic block and arranged the different greetings until they formed a pattern I liked.  To get the different colors I removed three of the stamps and left the 2 larger stamps on the block to stamp the greetings in Pacific Point.  Then I added the smaller 3 greetings back and removed the larger ones and stamped the 3 greetings in Crushed Curry.  It worked out great!  And with the photopolymer stamps I was able to line everything up just how I wanted and ensured the image would stamp where I expected to see the image.

The bottom border is a row of Crushed Curry banners punched from the banner punch.  I adhered these to the card front with dimensionals and then added the Pacific Point candy dots for added color.  Since this was for a boy, I decided to keep the bling down to a minimum.  The candy dots worked out well for this tactic.

Getting back to the photopolymer stamps, apart from being able to line things up perfectly, what I also love about the photopolymer stamps is that you don't have to prep them in any way.  That is, pop them out of the rubber and add the sticker on the back.  The photopolymer stamps come ready for immediate use!  What a time saver!  I just unpacked them from the box and shelved them with the rest of my stamps.  So easy!

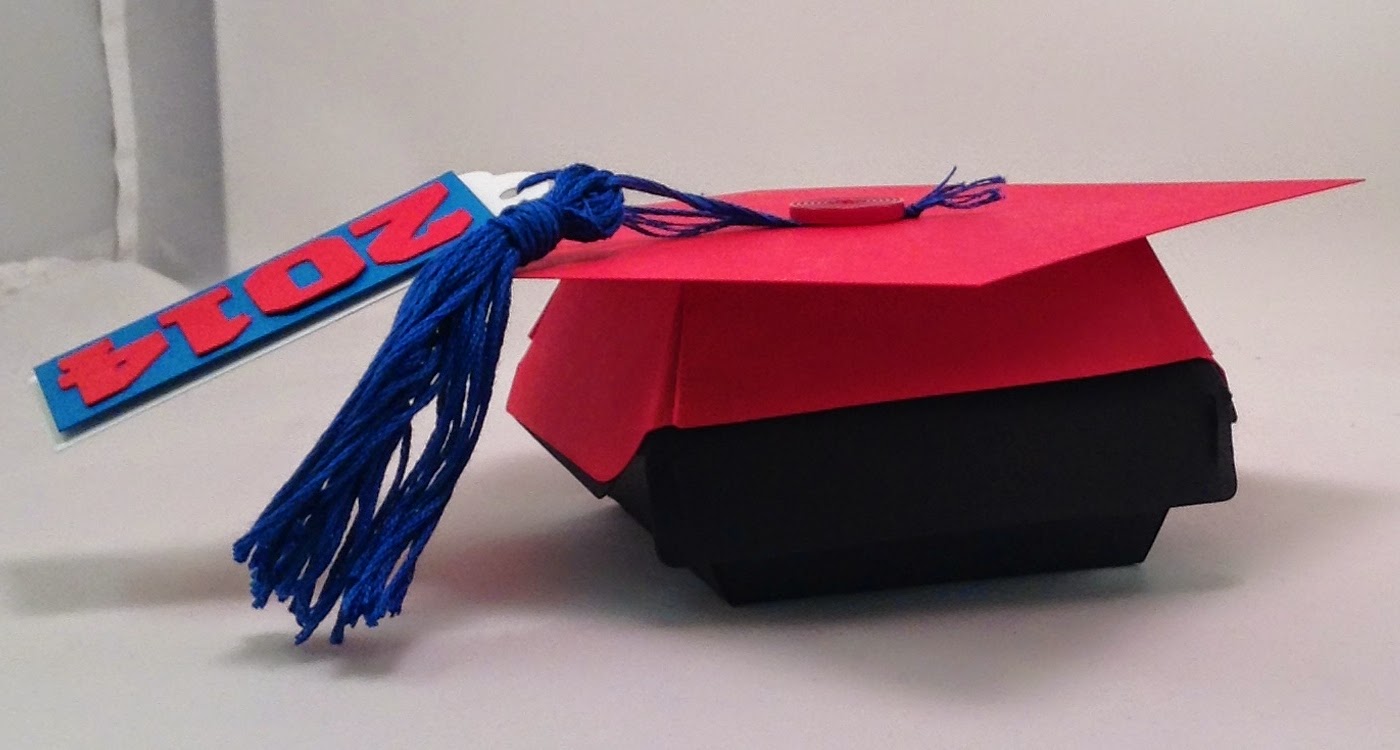
Hope you enjoyed the card.  I will post the second graduation card I made later this week.

Have a great one!

Wednesday, June 25, 2014

Happy Happy Birthday

My youngest niece had a birthday this month so I made a card for her.  I used Clean&Simple 295 for inspiration for this card.


I love the word bubbles and I was so glad that Stampin Up carried the word bubbles framelits into the new catatlog.  It was one of my favorite items in the Occasions catalog this past spring!

Here is the card I made for her.  I pretty much stuck to the sketch.  I used the Amazing Birthday stamp set for the greeting.  I really love this specific stamp.  I have used it twice already this month!  The word bubbles were made using the Word Bubbles framelits.  The paper is the Confetti Celebration designer series paper.   Such great colors together.

Unfortunately I had to miss my niece's birthday party due to travel for work. I heard they had a great time though! 


Have a great day!

.

Thursday, June 19, 2014

Pleasant Thoughts of Poppies

As I was preparing cards for a Stamp Camp, I was flipping through the Stampin Up 2014-15 catalog and was excited to see so many gorgeous projects.  One of the great things about the Stampin Up catalog is all of the samples they feature made with the product.  I am always so inspired by the artists designs and often wonder how they came up with the creations!  They are so beautiful and stunning.  One of the cards that caught my eye due to it's fairly simple layout is on page 107 of the catalog.  Here is a picture.

From Stampin' Up! 2014-2015 Catalog, page 107

Now I don't have that flower stamp set so I used a stamp set I had in my supply, Pleasant Poppies, which I inked with Memento ink and stamped onto Whisper White cardstock.  I colored in the flowers with the new Blendabilities markers, Cherry Cobbler, Early Espresso and Old Olive.  I just love how the marker lines don't show!  It amazes me every time.  Being a chemistry major I would think I would understand this more, but I just love the look!!


This card was so simple to put together.  The greeting is from A Dozen Thoughts and the bow is a fork bow made with the Cherry Cobbler Bakers Twine.

I can't wait to see what other inspirations I can muster!

Tuesday, June 17, 2014

Hip Hip Hooray for the New In Colors

I have to say, love at first sight is so real for me in so many ways!  And my most recent love is the new 2014-2016 In Colors from Stampin Up!!  Seeing is loving and they are even better in person.

2014-2015 In Color Color Coach Cards by Stampin' Up!

The Moonlight Designer Series Paper Pack showcases these new In Colors had has helped me to solidify these colors as my all time favorite. 

Moonlight Designer Series Paper by Stampin' Up!

I made this card for a stamp camp I held last weekend at a friends house.   


I used the Moonlight Paper Pack for the DSP and Lost Lagoon, Mossy Meadow and Hello Honey for the cardstock.  The Stamp Set is Hip Notes and the embossing folder is the arrows textured embossing folder.  I also used the new Project Life corner rounder punch.  This punch is so easy to use and makes a nice crisp curvy corner!  I see more rounded corners in my future cards!

The sketch is RetroSketches #117.  I played along a little too late to post to their challenge, but I wanted to be sure the credit was given for the design.


Hope you enjoy the new In Colors as much as I do!


Sunday, June 15, 2014

Be the Star

It's time for another Stampin' Celebration sketch challenge (SC81)!  This sketch was fun to play with, lots of options!  The team did such a nice job interpreting the image so many different ways!


For my design I decided to go with a star motif.  I couldn't believe all of the new items I was able to use for this card!!  I started pulling out my new supplies and ended up using a little of everything!


The color scheme is gray (Smoky Slate and Basic Gray) with Coastal Cabana and Calypso Coral.  I used the Tiny Triangles textured embossing folder for the background and the Star Framelits for the big and smaller star.  I was even able to use the new Ecelctic paper piercing pack to add some texture the stars!

The small Calypso Coral stars are from the Itty Bitty Accents paper punch set. The greeting is from Be the Star Stamp Set.  I used a marker to ink up the stamp set and then cut the greeting out using the smallest star in the Star Framelits Die set.  
My favorite addition was the star sequins from the In Color sequins pack! They added that extra bling to the card without overstating!


There were so many other products I was playing with before I settled on this final product.  The Hearts and Stars decorative mask, another stamp set with a star. So many choices!!  I am happy with the final result and can't wait to use these other products now!

Hope you enjoy this months sketch challenge and the inspiration from the other design team members!


Friday, June 13, 2014

Happy Happy Birthday

Today I am playing along with Freshly Made Sketches #140.  


I have been making cards for a stamp camp I am holding tonight and it just so happened that I had created a card similar in design to the Freshly Made Sketch before I even saw the sketch.  So I was quite excited to see this sketch.  Here is my original card.


I used Retro Fresh washi tape for the stripes and the Large Polka Dot embossing folder.  I love the large polka dot embossing folder!  It may be one of my new favorites!  For the greeting I used the Starburst Framelit die for the greeting background and the greeting is from the Yippee-Skippee stamp set and punched using the 1-3/4" circle punch.  For the flower I used the Petite Petal punch and a mini brad.

Since this card was in landscape I created a second card (for my sister) and followed the Freshly Made Sketch design using the portrait orientation.


For this card I used the Sweet Sadie washi tape and the large polka embossing folder.  The greeting is from the stamp set Amazing Birthday.  I stamped the birthday greeting it in Pistachio Pudding onto Whisper White cardstock and cut out the 3 "happy" rectangles and adhered them to the card with dimensionals.  The birthday cake was stamped in Basic Black and punched using the 1-1/4" circle punch; I used markers to add some color.  I really like how this turned out.  One note, I had to use the smaller starburst framelit for the portrait orientation, the larger starburst used on the landscape version of the card covered too much of the card.

Enjoy your day, it is beautiful here in Chicago!!


Friday, June 6, 2014

Pop-Up Graduation Card

I mentioned in a previous post that my niece graduated from high school.  She was in Track and Field and had a tremendous high school career in Track and Field. This year she won first place at the state championship in the 100 meter hurdles and 300 meter hurdle events along with 3rd place victories in the long jump and 4x400 relay race.  A truly outstanding accomplishment for her and her team!  She will be attending the University of Minnesota in the fall and joining their track team. Hopefully we will get to see her continue to up her game!

When it came time to make her graduation card I built her card in my mind over time.  I am very pleased with the way it turned out.  It didn't take too long to make this, although certainly not a 15 minute card!


For the front of the card, I used my e-cutter to cut out the graduation cap and the 2014.  These came from the My Digital Studio Embark Graduate stamp brush set.  The stamp set I used is a retired Stampin Up set.  There are several stamp sets in the new catalog that I would have liked to use, like the Bravo Stamp Set, but I don't have them yet ;0).  But Bravo was one of the first items I ordered when the new catalog went live on Monday!

For the inside, I made a pop-up card with a silhouette of my niece running the hurdles!  I found a picture on-line of her and print it out.  Then I traced it onto basic black and cut it.


The "W" on the right represents her high school and the "M" on the left is for the University of Minnesota.  I cut the two letters with my e-cutter (not Stampin Up letters unfortunately).

I can only imagine the possibilities she is setting out to achieve and we wish her much success as she reaches for her goals.  She is one of those young ladies who is driven to succeed and will do so.  She already has!       

Thursday, June 5, 2014

Something for Baby

I finally had a chance to make a card for a cousin who had a baby girl in March.  I was kind of glad I waited because I got to use the new Baby's First framelits dies from Stampin Up!  The new 2014-2015 catalog is just out of this world!  I had to hold myself back when I placed my first order.  

Anyway, the onesie die was perfect for what I wanted to do!  


The greeting is from Petite Pairs and the color combination is Blushing Bride, Strawberry Slush and Pistachio Pudding.  


The tutu was made using creped filter paper punched with the petite petals punch.  I adhered each flower to the onesie using glue dots.  For the ribbon flower I rolled up the ruffled stretch ribbon (retired last month unfortunately).

Can't wait to see what else I can make with these dies!  I am sure you can use them for things other than babies ;0).

Wednesday, June 4, 2014

Graduation Cap Gift Box

My niece graduated from high school and of course I had to make her card.  I knew what I wanted to do with her card, I have had that planned for about a month now.  That will get posted tomorrow!

Anyway, inadvertently I was thinking about the new Sizzix Hamburger Box XL Die from Stampin Up and somehow an idea came to me!  Don't you love it when that happens?!?  It wasn't even midnight when the idea struck.  I couldn't wait to try it.


Didn't it turn out so cute!!  I put her gift inside the box and she just loved it!!


To make the box I cut out 2 boxes using the Hamburger die, one in Basic Black and one in Real Red.  I put the Basic Black box together and used that as the base. I cut the bottom part of the Real Red box off and just made made the top part.  I glued the top Real Red box to the Basic Black box for the cap.  I cut another piece of Real Red cardstock in a 4.75x4.75 square and sewed a Cherry Cobbled button the middle.  Then I used dimensionals to adhere the top to the box.


The tassle was made using embroidery thread (in a Pacific Point-ish color).  For the tag I used the tag die that comes with the Hamburger Box Die and cut it out using Whisper White.  I used my e-cutter to cut out the numbers from My Digital Studio Embark Graduate Stamp Brush Set.

I am so happy with how this turned out.  I may have to make a few more for other graduation parties we are attending this year.

Hope this gave you some inspiration!  Have a great day!


Monday, June 2, 2014

Sail into Their Future

The 8th Grade Dance was this past weekend and what a dance it was!  I was completely blown away by the talented parents.  As co-chair of the dance, I helped to make sure assignments were made and that everyone was making progress.  We spent the last 4 months planning and so when the time for the big transformation came, I was eager to see how it all came together. 

The great thing about this years committee was that we had a lot of veterans who helped to take charge of various aspects of the dance prep.  This really helped to make things go much smoother!  That, along with the ideas and support from the "new blood" really helped us to put on a fantastic show!

It's amazing how just a few key ideas can spark the imagination.  That, along with pinterest and great party decorations and scene setters, really made the decorations above the top!

Here are pictures from the gym as we transformed it.  What was great is that my daughter said she didn't even know it was the gym at first.  And that folks is why we do it!!

The theme was "Sail into Their Future".  

When they walked in they were automatically transferred to the ocean and they walked the "pier" onto the boat. 


For my son's dance last year I made a few paper mache birds so I had to make at least one for this year.  I decided on a seagull sitting on a post.  He welcomed the guests into the dance!

Once inside the gym, on one side of the gym we had "the boat", complete with swimming pool, water slide, shuffleboard and other games.


On the other side of the boat we had destinations with stops in Hawaii, Italy and Alaska.  A world cruise!


When the kids got hungry they stopped by the SS Charger Cafe where there was a plethora of sweets and chips and drinks.  Enough junk food to feed the entire school!


And the photo booth area.


The kids had a great time.  We finally had to kick them out of the gym at 10 (they would have kept dancing otherwise) so we could clean up.  The saddest part is that it took us 10 hours to put it all together and 1 hour to break it all down.  Oh well.  Completely worth it!

The preparation was fun and exhausting and took some time away from my stamping.  Well worth it in the end but I am glad to get back to my stamps!  I missed them dearly.

Hope you enjoyed the pictures.  

Cup of Joe

I wanted to make a card for a friend who has graciously helped cart my youngest to and from orchestra every week.  She enjoys her Starbucks so I decided to make a card using the Perfect Blend stamp set.  I also decided to use the Freshly Made Sketch challenge 138 as inspiration.

The new In Colors from Stampin Up were sitting on my desk so I used Hello Honey and Blackberry Bliss.  I really love this combination!  


I used the Moonlight Designer Series Paper Stack for the paper background and the cup sleeve.  The greeting is from the Another Thank You Photopolymer set (available to purchase beginning today!).  I punched the greeting out using the small oval punch and punched another small oval in Hello Honey to let the greeting stand out a little.  Then a simple embellishment from the Essential Hardware Clip set and the card was finished!

Now I just have to give the the card with a gift card from Starbucks!  She will be able to enjoy a few blissful moments of serenity this summer!


Sunday, June 1, 2014

Endless Awesome

For this months inspiration challenge at Stampin Celebration (#80) was so colorful!  I loved the bright summer colors and was transported back to my younger days when my husband and I vacationed in Aruba.  So fun and relaxing!


For my card I was inspired by the boardwalk, the signs and the colors.  For the main focal point I wanted to use the Endless Birthday Wishes stamp set (a new photopolymer stamp set Stampin Up issued in May) and use the greetings to make signs.


For the colors I used a mat of Smoky Slate stamped with the Hardwood Background Stamp from the 2014 Occasions catalog.  I stamped the greetings using Basic Gray onto Coastal Cabana, So Saffron, Crisp Cantaloupe and Perfect Plum and then die cut themusing the arrow from the On Film framelits.

I used the dots stamp from Endless Birthday Wishes to create the colorful confetti border on the sides. For the bows, I used died some white bakers twine with smoky slate ink and made 2 fork bows.  A few rhinestones top the card off.

I love these greetings as they can be used not only for birthdays, but any congratulation!

Have a great day and hope you enjoyed the various creations this month.