
The term comes from the Japanese word boke (暈け or ボケ), which means "blur" or "haze", or boke-aji (ボケ味), the "blur quality". In photography, bokeh (boh-kay) is the aesthetic quality of the blur produced in the out-of-focus parts of an image produced by a lens.[3][4][5] Bokeh has been defined as "the way the lens renders out-of-focus points of light".[6]
Here's an example of this effect in photography.

When I volunteered to demonstrate this technique I had two thank you cards that I created this summer. The pressure was on to create a few more samples to demonstrate the various ways to create the effect. Today I am going to post the rest of the cards I demonstrated or had as a sample. Well, most of the cards I had as samples. Turns out I gave a few away without taking a picture. Ooops.
In stamping, this technique is primarily achieved on cardstock using circles. I like to use different sized circles, but you can use the same size as well. The main thing you need is a template for the circle. I created my template with a window sheet and the circle framelits, the 2nd smallest and 4th smallest circles. For the smallest circle I either used a sponge dauber or the 1/2" circle punch. I found that some punches do not cut through the window sheets too well, just a heads up. You can also use other shapes; stars look great!
A link to a YouTube video of the technique is here.
Yesterday I posted a card I made using one of the backgrounds I demonstrated at the meeting. That card turned out great!
Here are the other cards I showed at the meeting.
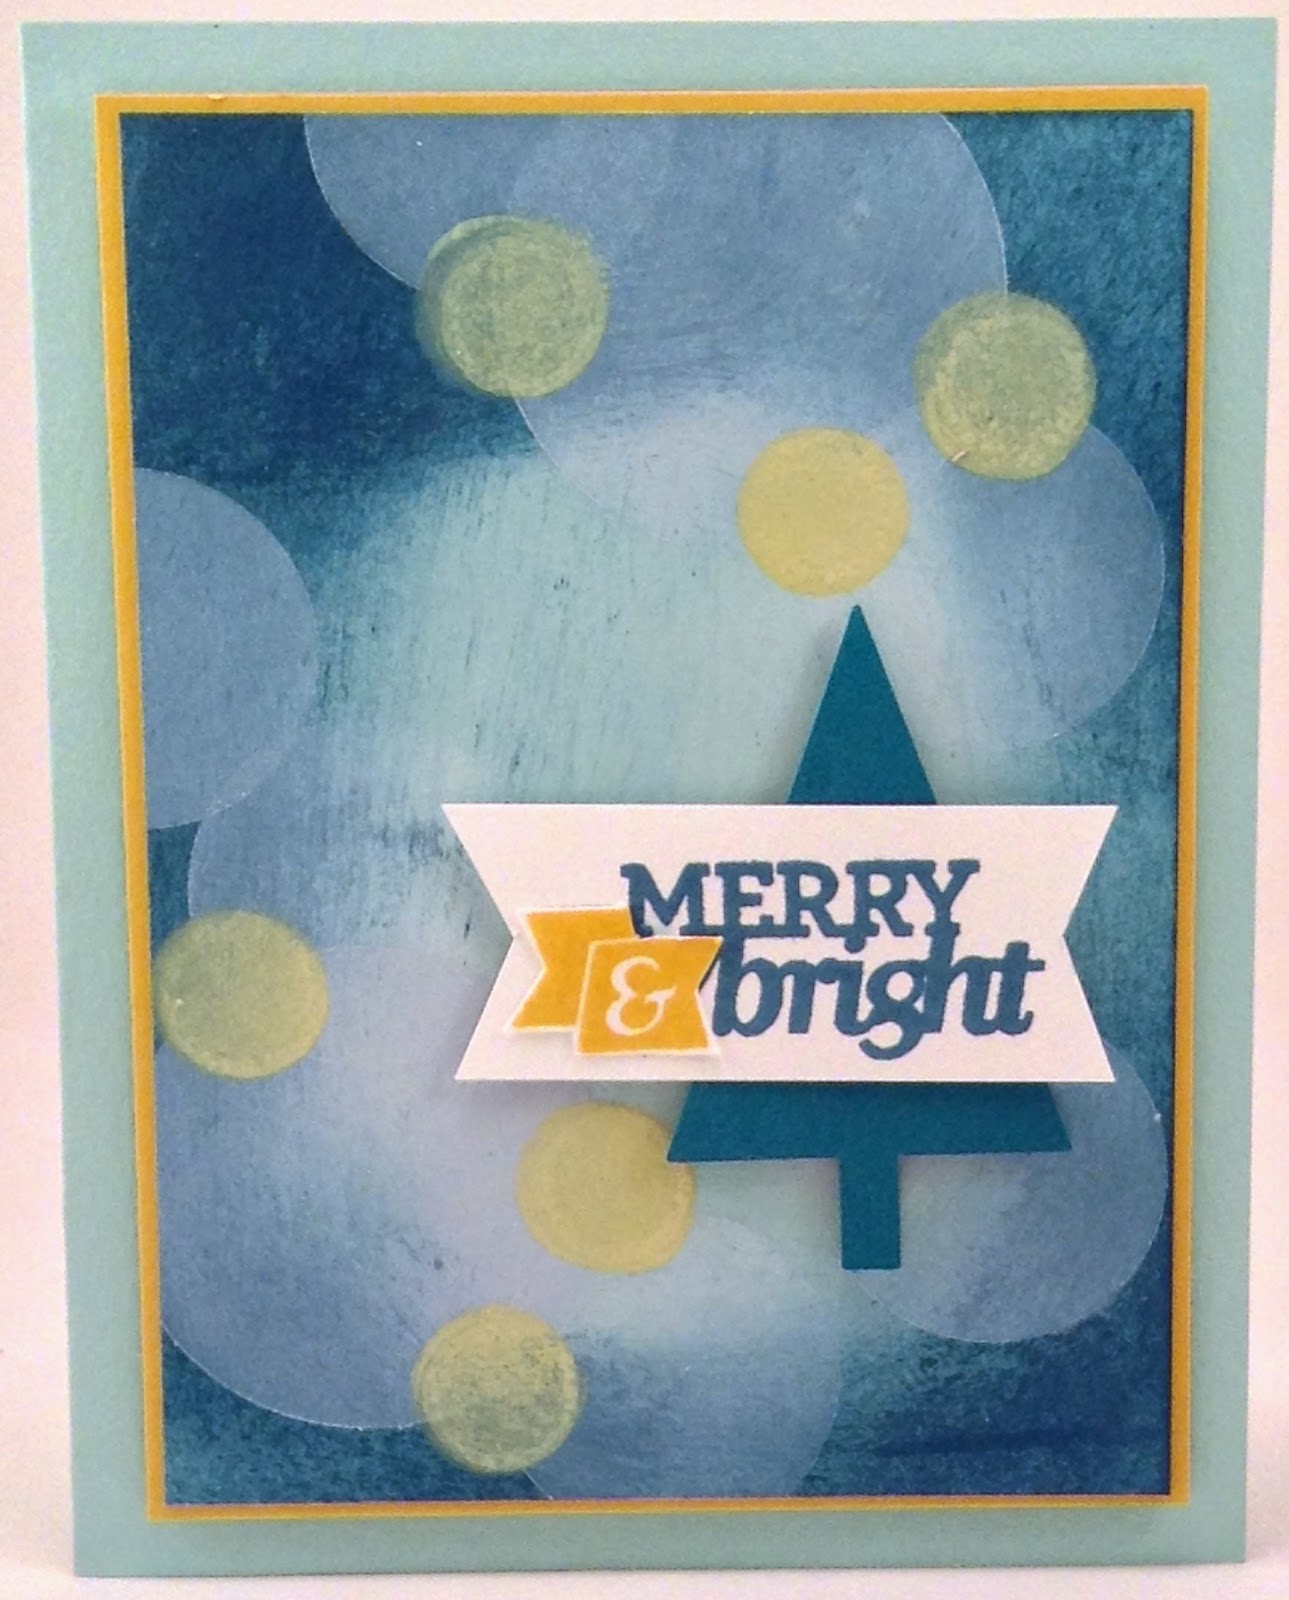
For The Merry & Bright card I started with a base of Pool Party cardstock and used a sponge and Island Indigo stamp pad to shade in the edges of the cardstock, leaving the middle uncolored. It helps to spray the sponge with a little water, it makes the ink easier to "spread" around the cardstock. Once that was dry, I took whisper white craft ink and a sponge and using a circlular motion, sponged the whisper white ink over the card first with the large circle and then the medium sized circle. For the smallest circle, I mixed a few drops of whisper white crafk ink and crushed curry reinker together. I then applied the ink with a sponge dauber. The stamp set for the greeting is the Stampin' Up! Christmas Bliss photopolymer stamp set. I liked the greeting with this background!
This next card uses classic ink for the circles. I used a background of Soft Sky cardstock and created circles with Soft Sky (largest circle), Pool Party (medium circle) and Island Indigo (smallest circle). I used a different sponge for each color to avoid getting the wrong color ink in the stamp pad. Just ink up the spomge and use a circle motion to color in the circles. The greeting is from the Circle Card Thinlits Die. I hand cut the arrow to fit the greeting.

This birthday card uses the same technique as above, just a different color combination (Pink Pirouette, Wisteria Wonder and Strawberry Slush on Pink Pirrouette cardstock). The cake is from the Stampin' Up! hostess stamp set called Life's Adventure. I used the Stampin' Up! markers to color the cake and some basic rhinestones to add a little bling to the sparkler on top of the cake.

The background for this next card was created using the Stampin' Spritzer filled with alcohol and about 15 drops of basic gray ink from the reinker. I sprayed a piece of whisper white cardstock with the basic gray alcohol mix and then the other half with a mix of alcohol and crushed curry. Once it was dry I used whisper white craft ink to make the circles on the card. The greeting is from the Many Merry Stars stamp set. The design on the Smoky Slate star is also from this stamp set and was stamped using versamark and then heat embossed with crushed curry embossing powder. The Many Merry Stars stamp set is a new set in the 2014 Holiday Supplement catalog. This stamp set coordinates with the Stars framelits!

I have a few more backgrounds I created using this technique. I will post them as soon as I create a few projects with them.
Perhaps you can use this technique to make a few fun projects this holiday season!
No comments:
Post a Comment